This lampshade is easy to make and looks rustic and unique! You only need a few things to create your own lampshade.
Requirements:
- An old lampshade
- Yarn of any type or thickness
- 2-3 bottles of school glue or tacky glue
- 2 cups of water
- Plastic wrap
- Wire cutters, Needle-nose pliers and wire (optional, as needed in order to attach the lamp shade to the base)
- 1/2 cup of cornstarch (this is optional, so don't worry if you don't have it on hand)
- Large bowl & whisk or spoon
- disposable gloves (optional, but highly recommended)
Instructions:
First, lay out a towel on the ground or at your work area (or newspapers). Take out the plastic wrap and cut off a piece to wrap around the lampshade. Once fully around it, you may want to go to the inside of it to add a few pieces of tape here and there to secure it to the lampshade. Once the plastic wrap is securely on the lampshade, we're ready to start making this!
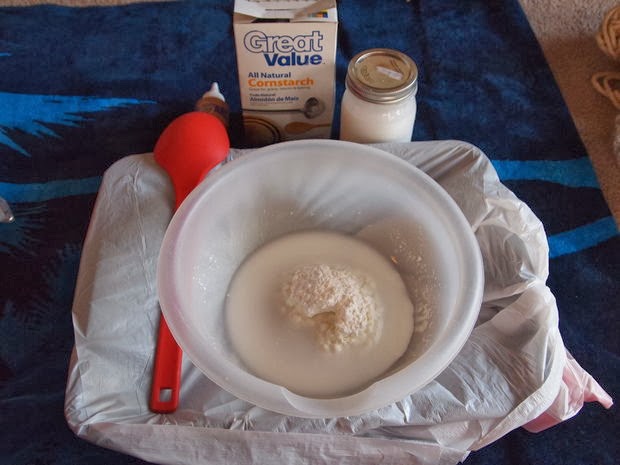
Take out the bowl and pour the glue in and mix it up. After mixing it, add the 2 cups of water and continue to mix. If you have corn starch, now you'll want to add that in last and use a whisk to mix it up so there aren't any clumps.
Then, cut out pieces of yarn about 6 feet long each (it doesn't matter if you cut them out longer or a bit shorter) - you can decide that as you go along. If too long, the pieces tend to form knots. You don't want them too short either. So, put a few of those yarn pieces into your bowl and dunk them in the glue mixture. Pick a piece up, and as you do, use your other hand to go over the piece to remove all excess or dripping glue from it before you wrap it around the lampshade. You can wrap it around as you please and as much as you like. Try to avoid any large gaping holes. If you do have gaping holes in it, after it is fully dry you will need to make sure the lamp is structured enough and may need to tie little pieces together to get rid of those gaping holes. So, avoid that by not leaving any massive spaces. Once you are happy with how it looks and how many pieces you've wrapped it with, you will then need to let it dry!
I hung mine up with a long piece of yarn and allowed it to dry in my house - it took 24 full hours for it to be 100% dry and solid. Once it is dry, you'll need to carefully loosen it up bit by bit to get it to slide off of your lampshade. I did this one area at a time, starting at the top of the lampshade - and it worked very well.
Once you have it off, you'll need to determine how to reattach it to the base of your lamp. This really depends on the lamp you have and the style of the base. With mine, you can see in the photos how I used pieces of wire to reattach it. I tried to keep it to a minimum and not make it too noticeable and I like how it turned out. Needlenose pliers work really well for bending the wires easily.
Source: instructables


... rusticlampshades.blogspot.com
ReplyDelete